
Fun & Hands-On Ways to Learn About the United States in Cycle 3
I’ve truly come to love teaching geography in our homeschool since beginning Classical Conversations. In Cycle 1, we explored Africa. In Cycle 2, we dove deep into Europe. And now in Cycle 3, we’re learning all 50 states! Geography has become one of our favorite parts of the week.
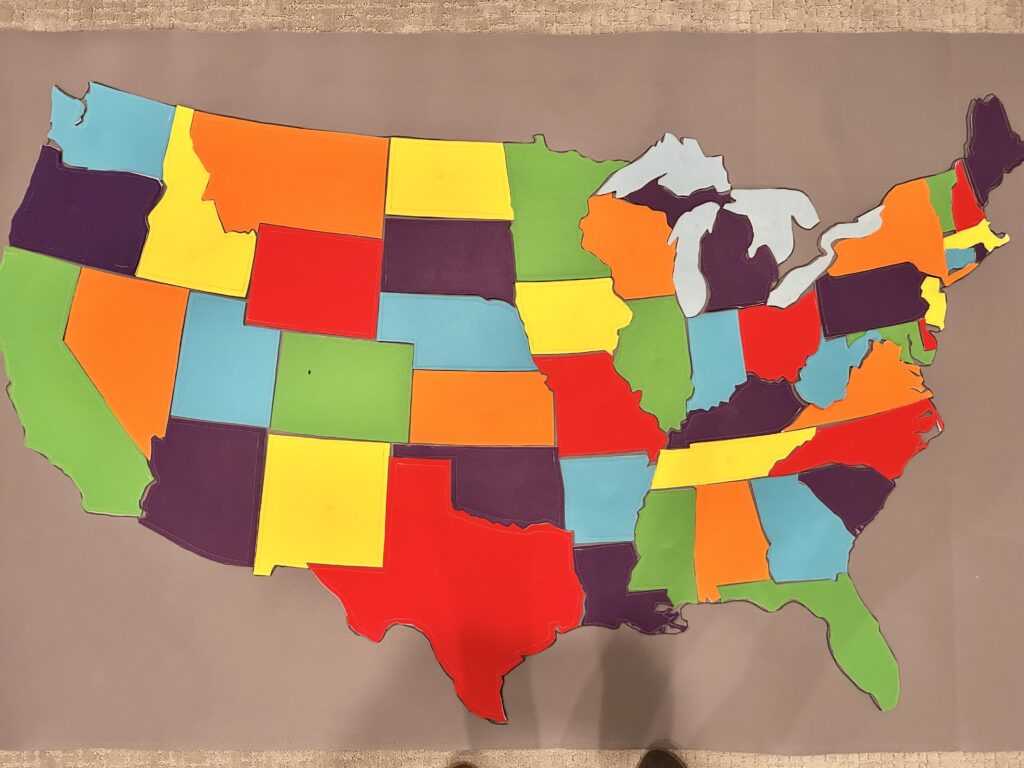
When we first learned about the United States in Cycle 3 a couple of years ago, I wanted my girls to see it and touch it. So I made a giant felt United States map and hung it right by our kitchen table. It became such a special part of our days. The kids would snap states on and off while we talked about geography, and it really brought all that memory work to life. We loved it so much that we went on to make felt maps for Africa and Europe, too!
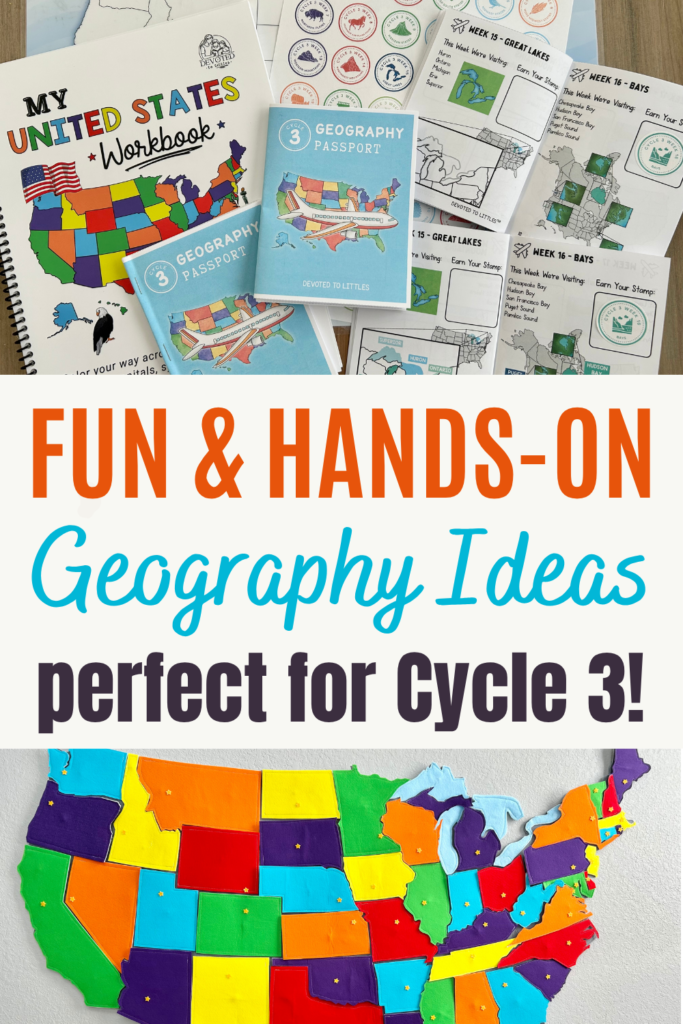
If you’re looking for fun, hands-on ways to make United States geography come alive in your homeschool this year, you’re in the right place. In this post, I’ll walk you through how to make your own felt United States map step by step. I’ll also share some of our other favorite resources for exploring the states—including a states workbook and a geography passport!
Whether you’re in Classical Conversations getting ready for Cycle 3 or you just want to teach your kids about the United States, these activities are for you! Learning the 50 states and the Great Lakes is great for any kid, and these hands-on resources make it so much fun.
This post contains affiliate links, which means I make a small commission at no extra cost to you. See my full disclosure here.
DIY Felt United States Map for Your Wall
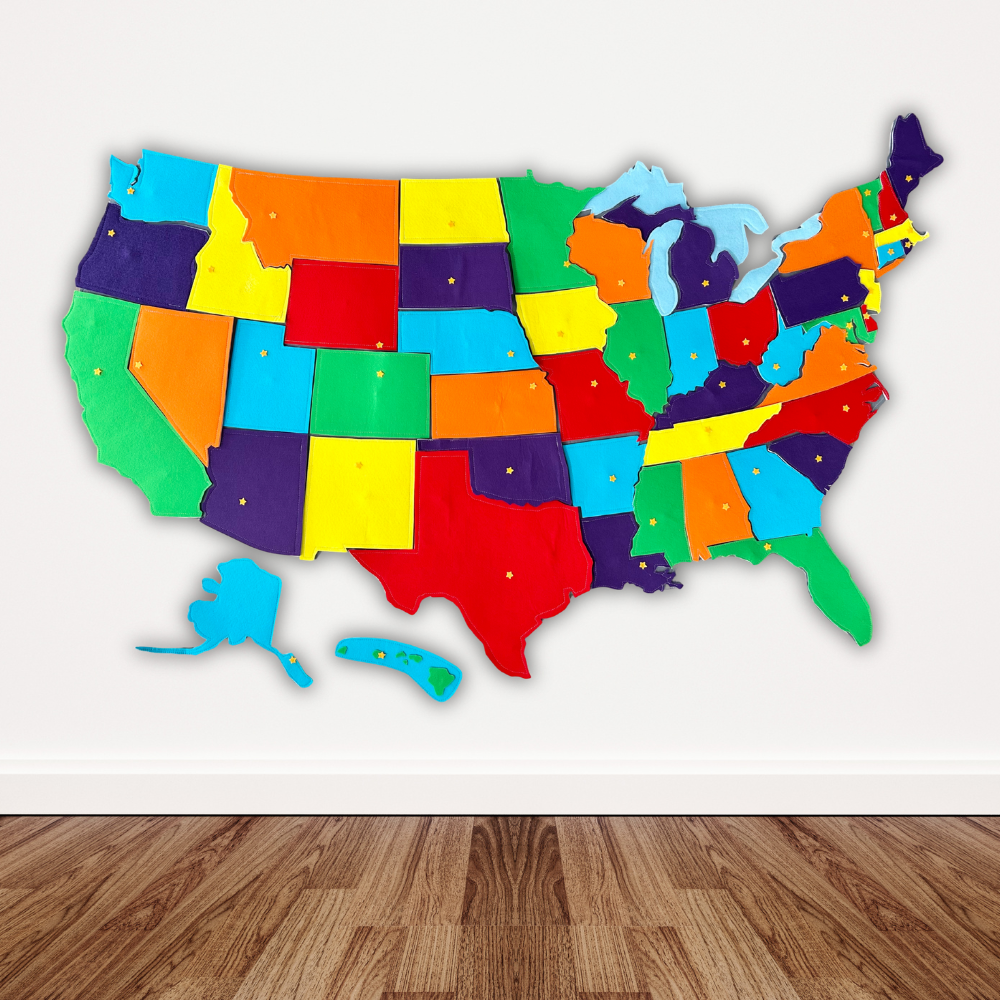
After seeing how much my girls loved our felt maps of Europe and Africa, making a United States version for Cycle 3 was a no-brainer! It’s toddler-proof, reusable, and such a wonderful hands-on way to explore geography in your homeschool. Each state is made of colorful stiff felt and snaps onto the country with magnetic snaps. We use it to play review games, practice locating states, and even just as a fun quiet-time activity.
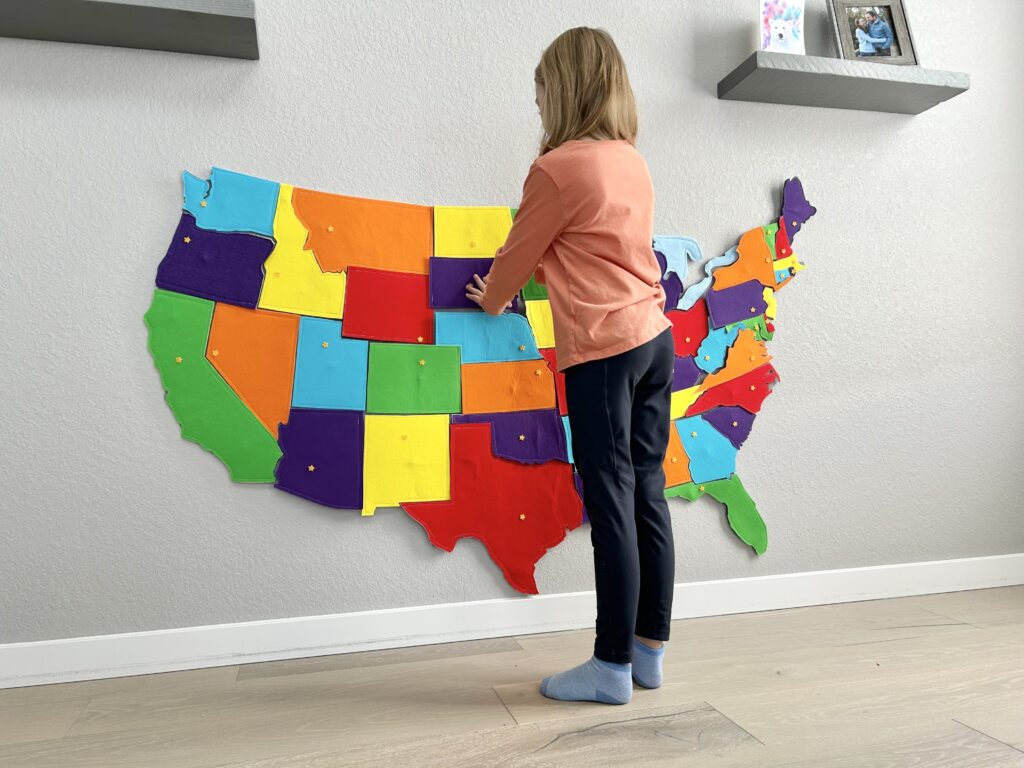
The finished map is about 66 inches wide and about 42 inches high, so it makes a real statement on the wall! My kids are absolutely loving it.
Materials You’ll Need
Here’s everything you need to get started. I’ve linked the exact products I use below:
- Quilter’s Freezer Paper – for printing the state patterns
- Hard Korean Felt for States (7 different colors: green, red, purple, yellow, orange, teal, and light blue for the Great Lakes). I explain the exact amount and colors in the pattern instructions.
- Hard Korean Felt for the Country (2 yards, approximately 44 x 72 inches)
- White Fusible Felt
- Magnetic Purse Snaps
- Exacto Knife
- Fabric Scissors
- Removable Mounting Strips – for hanging on the wall
I get my felt from Etsy, and I really like the hard Korean felt because it’s tough. You can’t tear it or anything, and it works really well for these maps. I’ll link the exact amount of felt that you need and what colors I got in the description. You don’t have to use the exact same colors, but if you want to match mine, it’s all linked in the pattern instructions!
Step-by-Step: How to Make Each State
Making these states is actually really simple once you get the hang of it. Here’s how the whole process works:
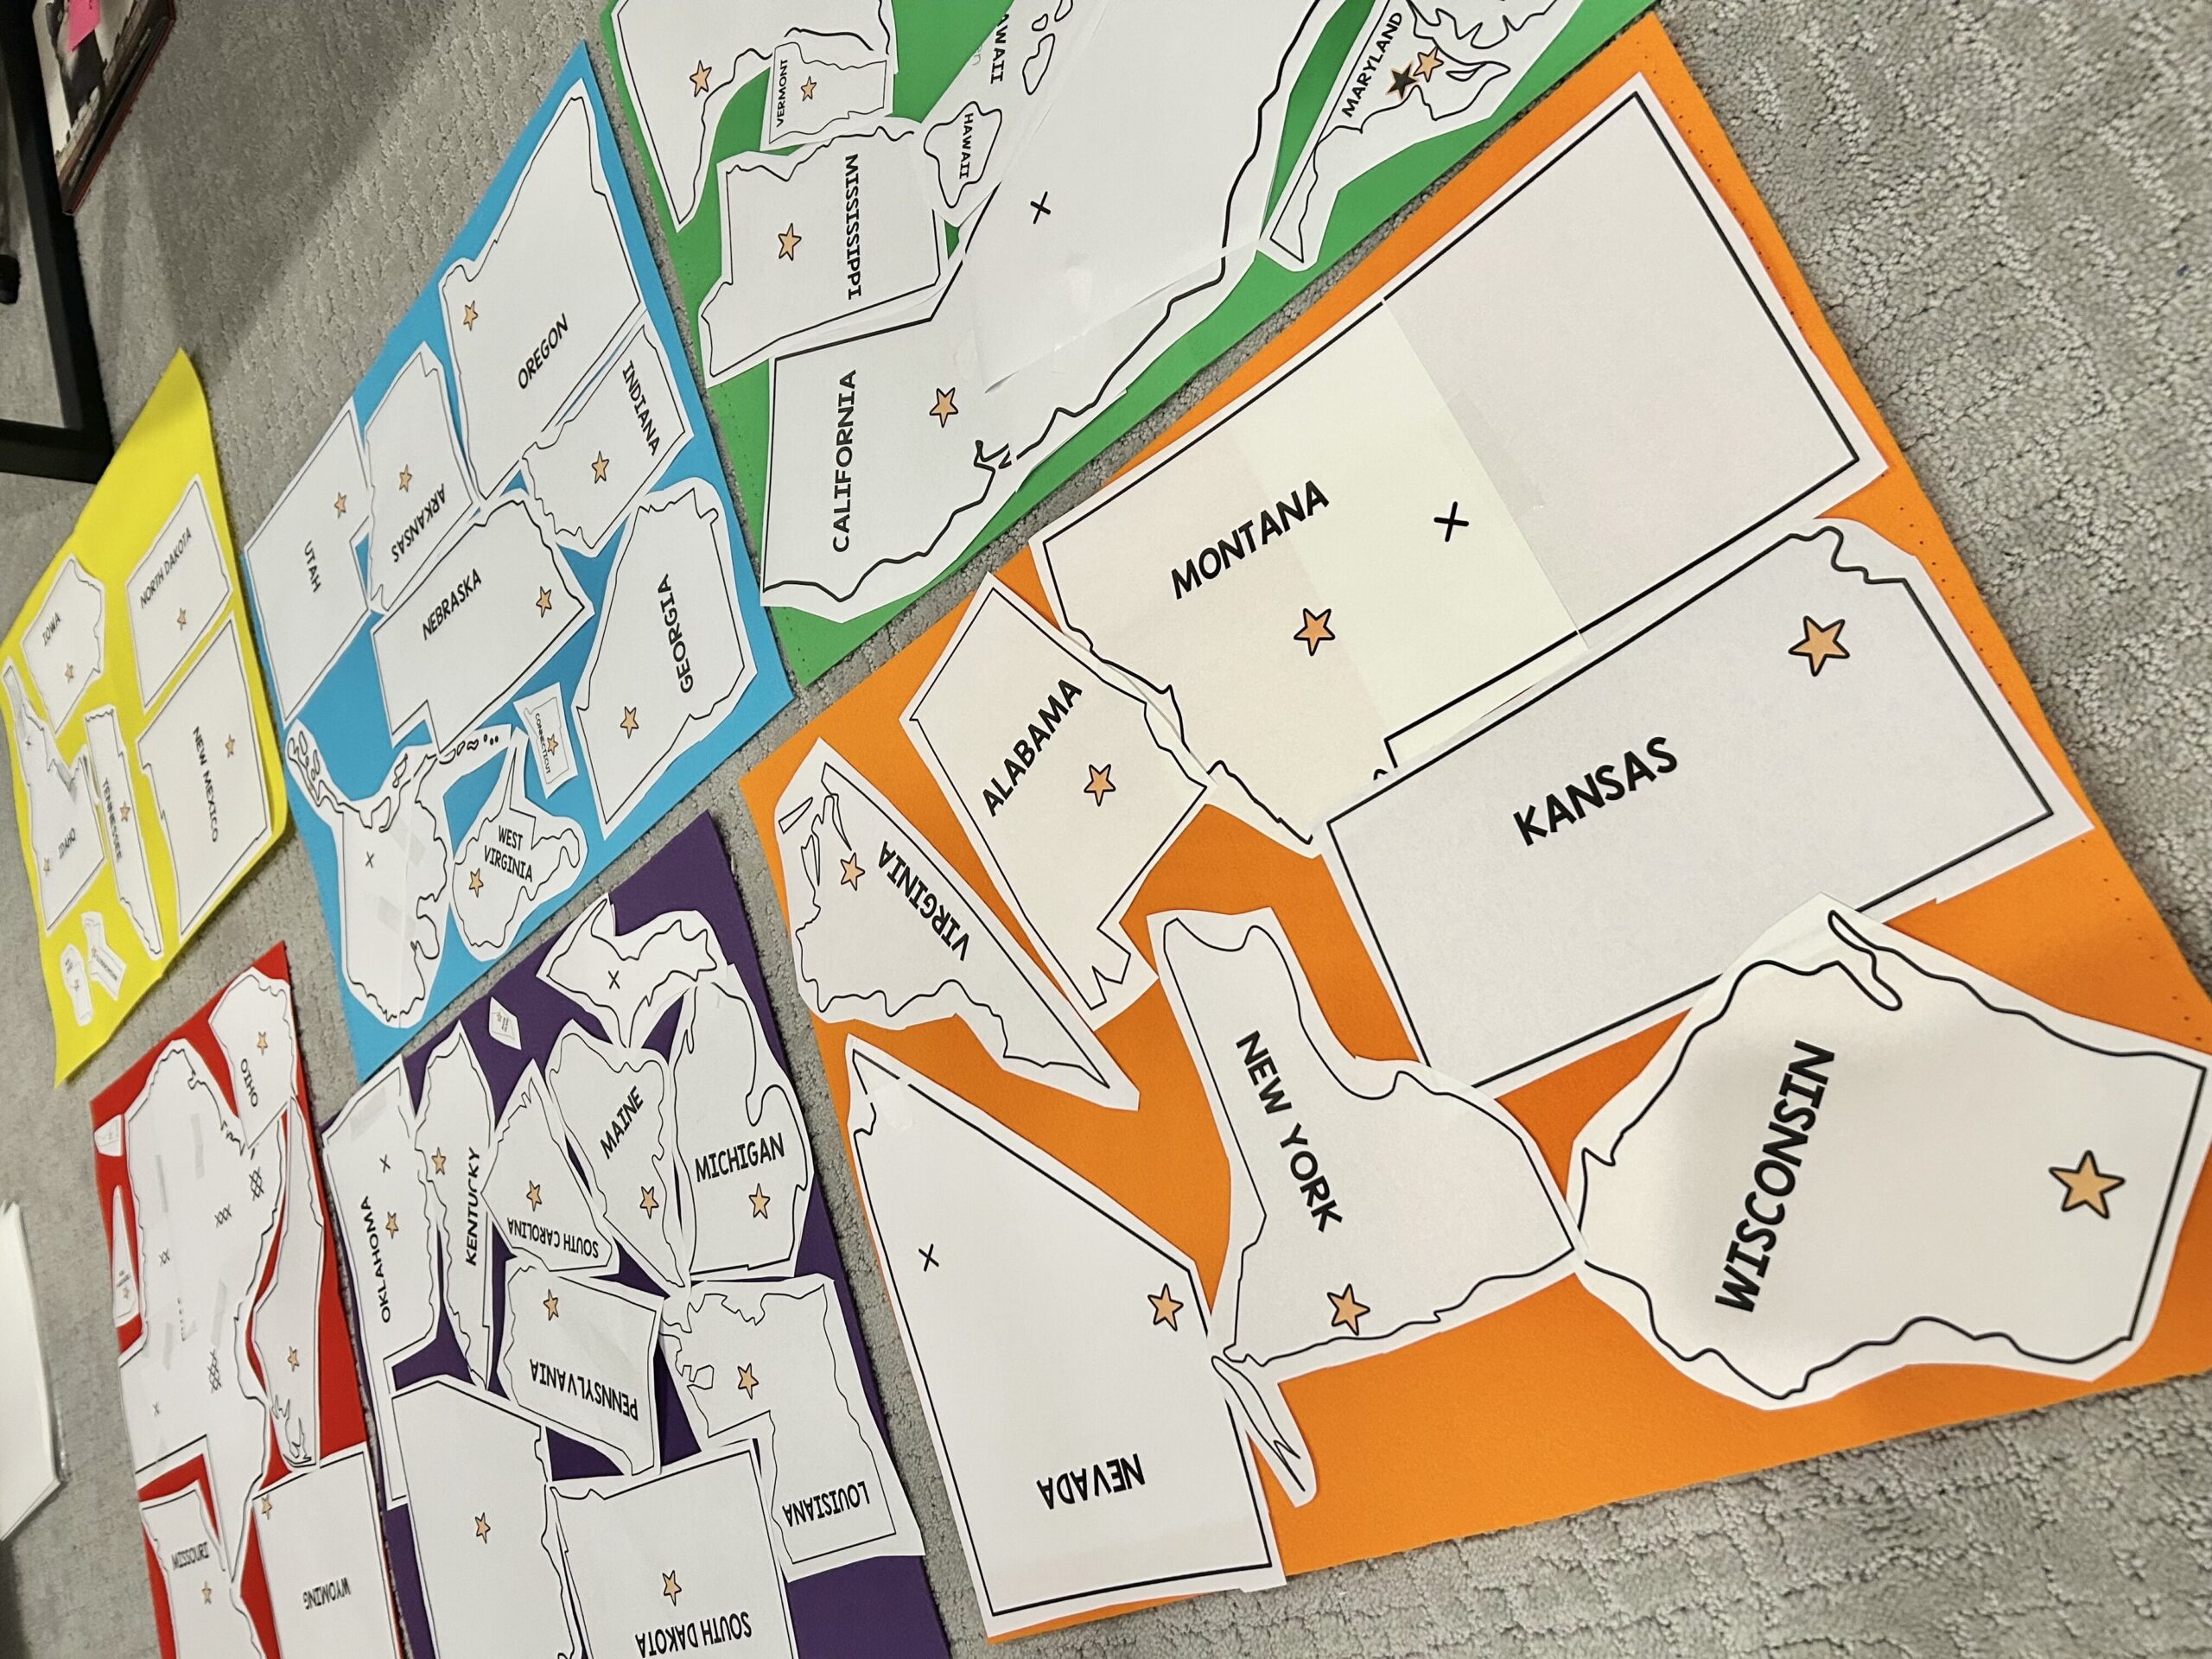
1. Print the patterns onto freezer paper. I have patterns for all 50 states and the Great Lakes available in my shop. The quilter’s freezer paper has a rougher side and a shiny, smooth side. You print directly onto the rough side from your printer, and the shiny side is what you’ll iron onto the felt.
2. Arrange your patterns on the felt. Before you start cutting anything, lay all of your printed patterns out on the felt to make sure you have enough. This is really important! If you just start cutting them out randomly, you might run out of felt. Arrange the patterns as close together as possible so you’re making the best use of your felt and not wasting any.
3. Roughly cut out each state. Once your patterns are arranged, roughly cut around each state from the correct color felt. You’re not cutting along the exact state outline yet—you just want a piece of felt big enough to fit the pattern when you cut it precisely later.
4. Iron the pattern onto the felt. Place the shiny side of the freezer paper against the felt, make sure your iron is nice and hot, and iron the pattern right onto the felt. It will stick on, which is so nice because you don’t have to mess with pins! It doesn’t need to be perfectly stuck on yet—just enough that it stays in place.
5. Prepare the fusible felt and magnetic snap. Now, before you iron the colored felt onto the fusible felt, you need to put the magnetic snap in. The fusible felt has a rougher side and a smoother side. The rougher side is the part you’ll iron onto your state, so the snap needs to go on the smoother side. For each state, press the snap into the felt to make an imprint. Then use your Exacto knife to cut two small slits where the prongs will go. Push the snap through the holes and fold the prongs over on the rougher side (the side that will be ironed onto the colored felt).
Tip: Be consistent! Use the same side of the magnetic snap for all your states, and the other side for the country piece. This way everything will snap together correctly.
6. Iron the fusible felt onto the colored felt. Line everything up and iron the fusible felt onto the back of your colored state piece. The two layers will fuse together, giving you a nice, sturdy state with the snap securely attached.
7. Cut along the pattern lines. Now you can use your fabric scissors to cut precisely along the state outline. This is where the freezer paper method really shines. You can cut right along the printed line without any pins shifting around. You definitely want to use fabric scissors so it cuts cleanly.
8. Peel off the freezer paper. Once you’ve cut out the state, just peel the freezer paper off. It comes off so easily and your state is perfectly shaped! If you feel like the fusible felt needs a little more bonding, place a thin cloth over the state and iron it a bit more. (The cloth protects the felt from any iron residue.)
9. Optional: Sew around the edges. I like to sew around the edge of each state for extra security. However, if you’re not a sewer, you absolutely don’t have to. Just make sure you ironed it well so the layers are really fused together.
And that’s it for each state! Put on a good podcast or some music while you work through them. It really doesn’t take that long once you get into a rhythm.
Making the Country Base
After you’ve cut out all your states, it’s time to make the big country piece that everything snaps onto. Here’s how:
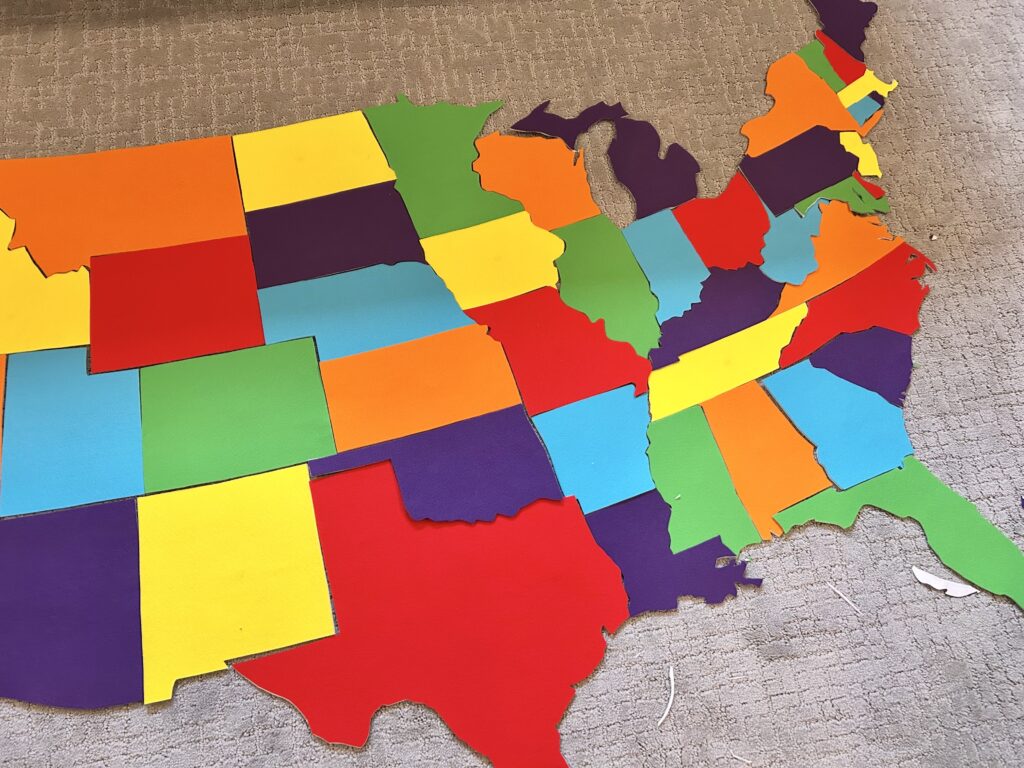
1. Lay out your states. Place all of your finished states on the large piece of felt (I used a 44 x 72 inch piece from Etsy) and arrange them as they should be geographically.
2. Mark the snap placements. Go one by one and mark where the other side of each magnetic snap should go on the big felt piece so that each state ends up in the correct spot. Use your Exacto knife to poke the holes, push the snap prongs through, and bend them over on the back side.
Tip: Start with the central states like Texas and Oklahoma, and then work your way to the right and to the left. I definitely wouldn’t recommend starting at the East Coast and working to the West Coast—the way the states fit together, it just works much better to start in the center and work outward.
3. Outline the country border. Once all the states are snapped on, use a marker to outline the border of the country around all the states.
4. Add fusible felt to the back. Turn the big piece of felt over and iron white fusible felt onto the back. Cover as much of the country as possible. This makes the whole piece thicker and more secure. It doesn’t have to be one perfect piece. I used several pieces of leftover fusible felt and just made sure they covered the majority of the country.
5. Cut out the country. Cut along the outline you made, cutting just inside the line so the marker doesn’t show on the finished piece.
6. Hang it up! Use removable mounting strips to hang your map on the wall, and you’re done! Don’t forget Alaska and Hawaii—I hung those up separately near the main map.
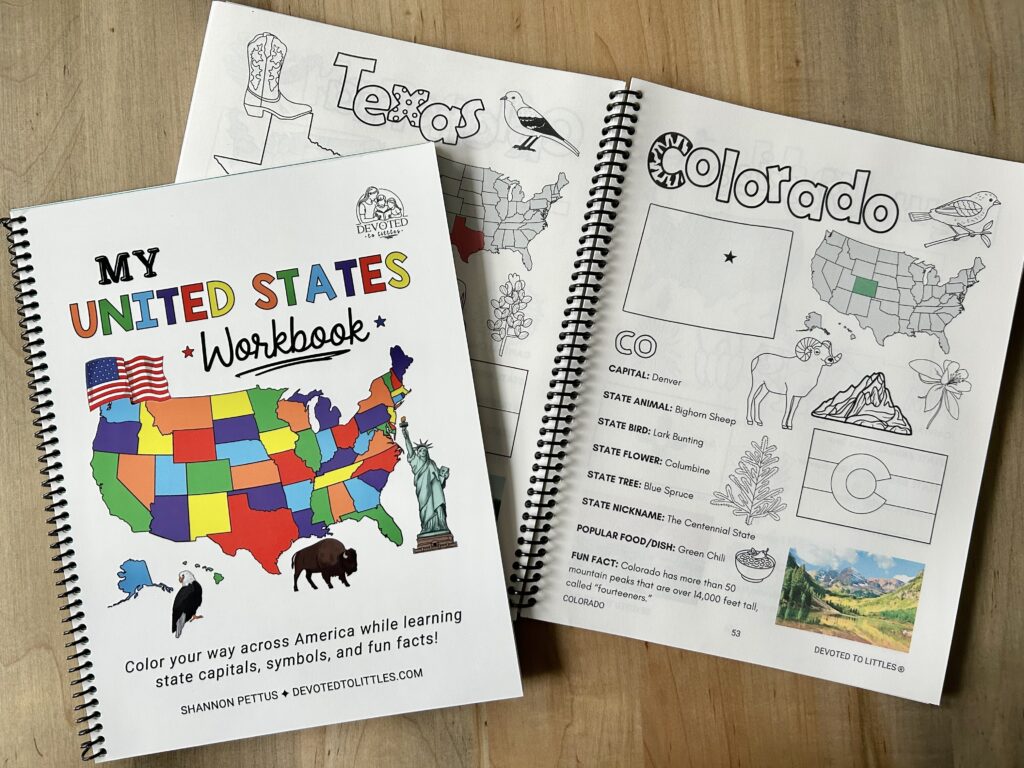
United States Workbook
Last year I made a Europe countries wotebook for my girls to work through during Cycle 2. It quickly became one of their favorite geography activities. So naturally, I created a United States version for Cycle 3! It’s an easy and meaningful way to reinforce what we’re learning without any extra prep.

This workbook has a page for each of the 50 states, including Washington D.C. Each page includes the state symbols for kids to color—state flower, state animal, state tree, state bird—plus the state nickname, a fun fact, the state flag, and a map showing where each state is located with a zoomed-in image for coloring.
At the end of the book, there’s a handy reference section with all the state trees, state flowers, state animals, state birds, and all the state flags so your kids can flip to the back and see what each flag looks like as they color. There are also several maps at the front—some labeled, some blank, some in color, and some in black and white. And at the very beginning, there’s a page about the United States in general with some of the country’s symbols.
We usually work through just one or two pages a week. It’s such a fun way to dig a little deeper while still keeping things light and age-appropriate. It pairs perfectly with your memory work and is great for preschoolers all the way through early elementary. My kids did the Europe workbook this past year for Cycle 2 and loved it! It’s just a wonderful way to dive deeper into the United States and really learn more about each state.
I have this workbook available in BOTH digital and physical versions. Check them out in my shop below!
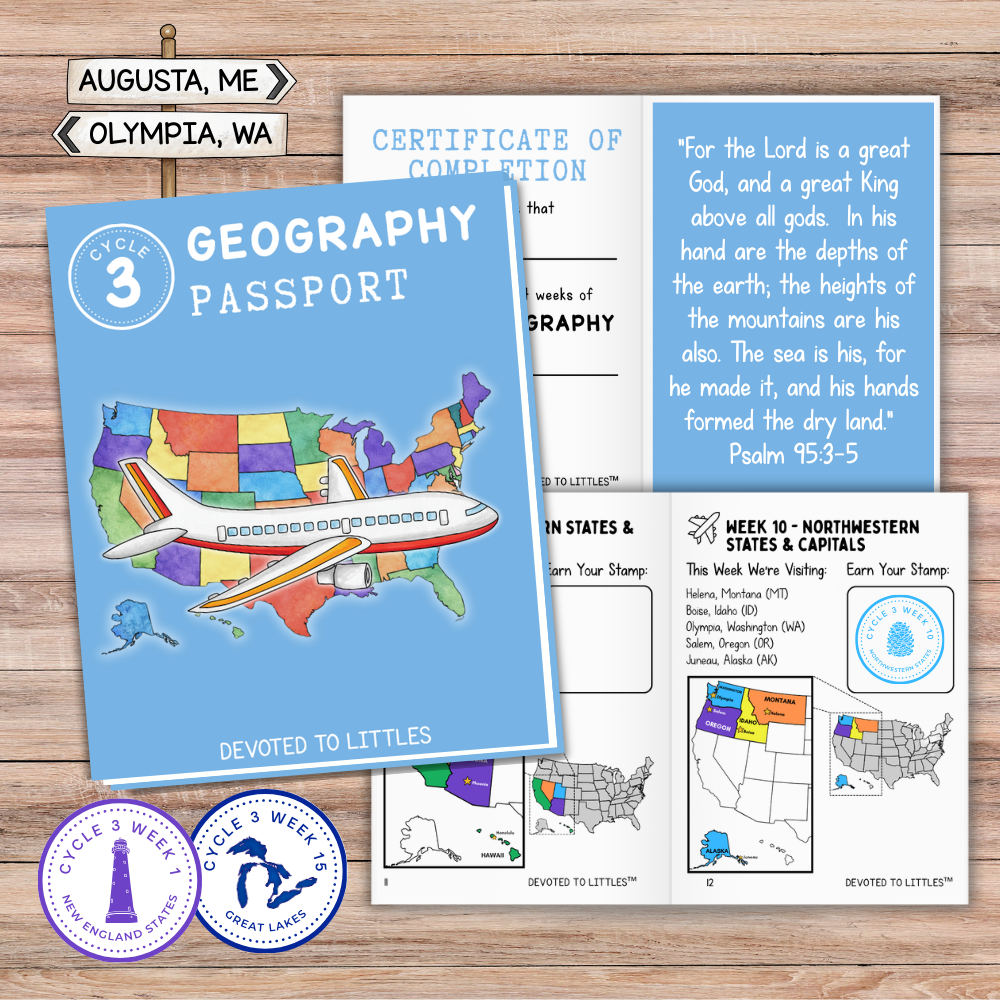
🌎 Cycle 3 Geography Passport
If you saw our Cycle 2 passport, you already know how much my kids love these! I created a Cycle 3 geography passport that follows along with the Cycle 3 memory work—the states and capitals, mountains, rivers, and whatever we’re learning about each week.
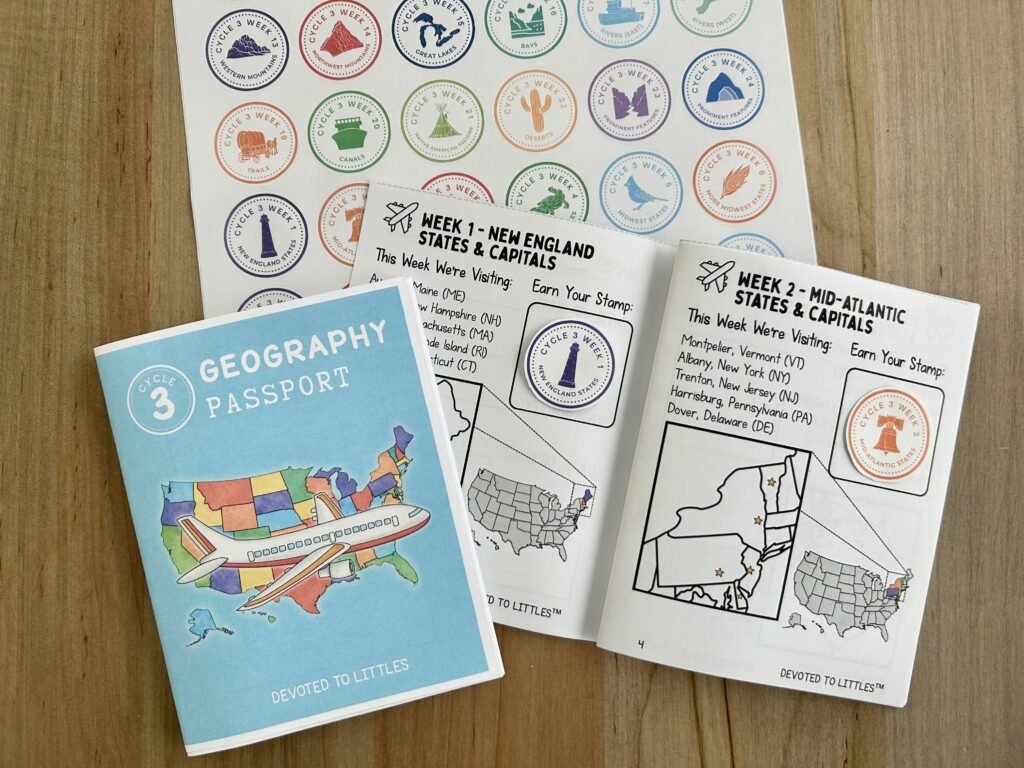
The way we use it is simple: each time my kids learn the geography for the week, I quiz them, and if they get it right, they get to add a stamp to their passport. (The passport comes with stamps!) It’s such a fun little incentive and my kids look forward to it every week.
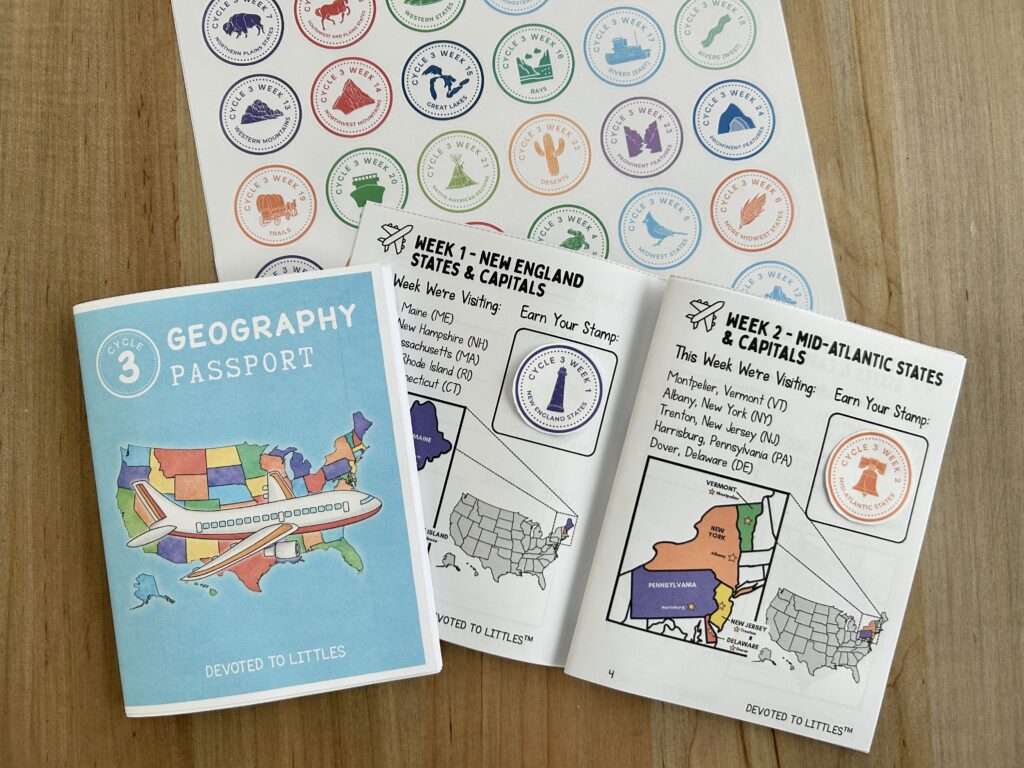
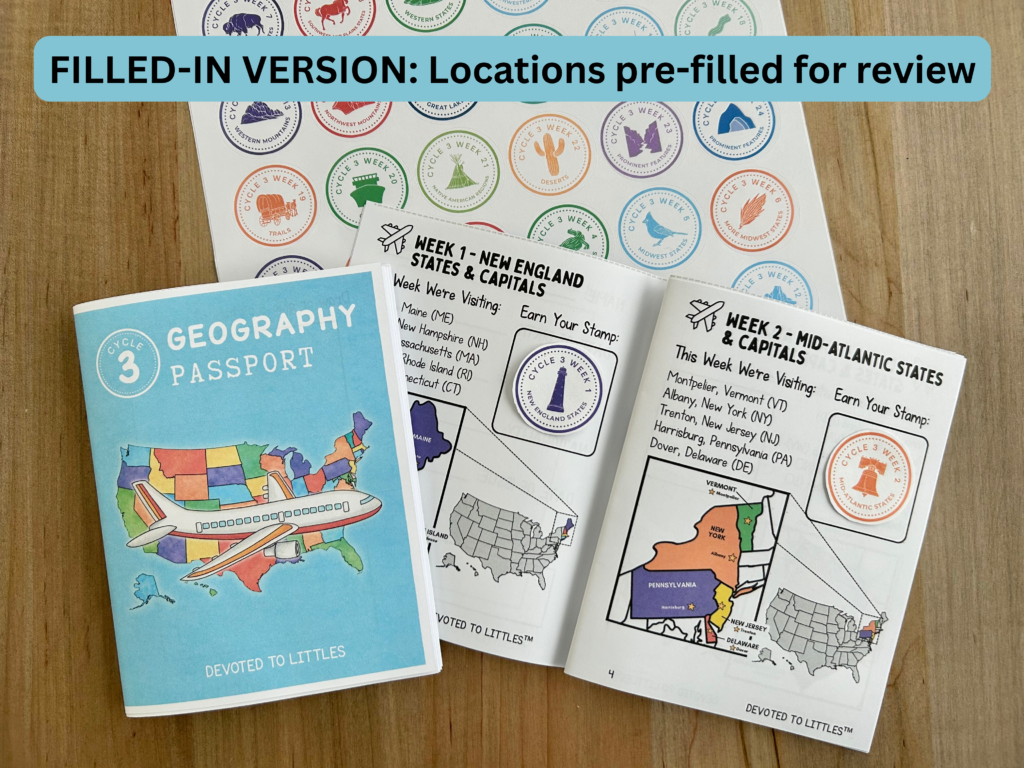
This time I actually have two different versions! One comes with all the places already labeled (like our Cycle 2 passport), and one comes blank so older kids can fill in the locations on their own. When you purchase it, you get both versions so you can choose which one to print for each of your kids.

My kids absolutely loved using the passport as we went through Cycle 2, so I’m really excited to have them use this each week as we go through Cycle 3 geography!
📚 Cycle 3 Memory Work Activity Book (Coming Soon!)
If you used my Cycle 2 Memory Work Activity Book this year, you know it has an activity for each subject of the memory work for each week—all 24 weeks. History has a page, science has a page, geography has a page—for every single week!
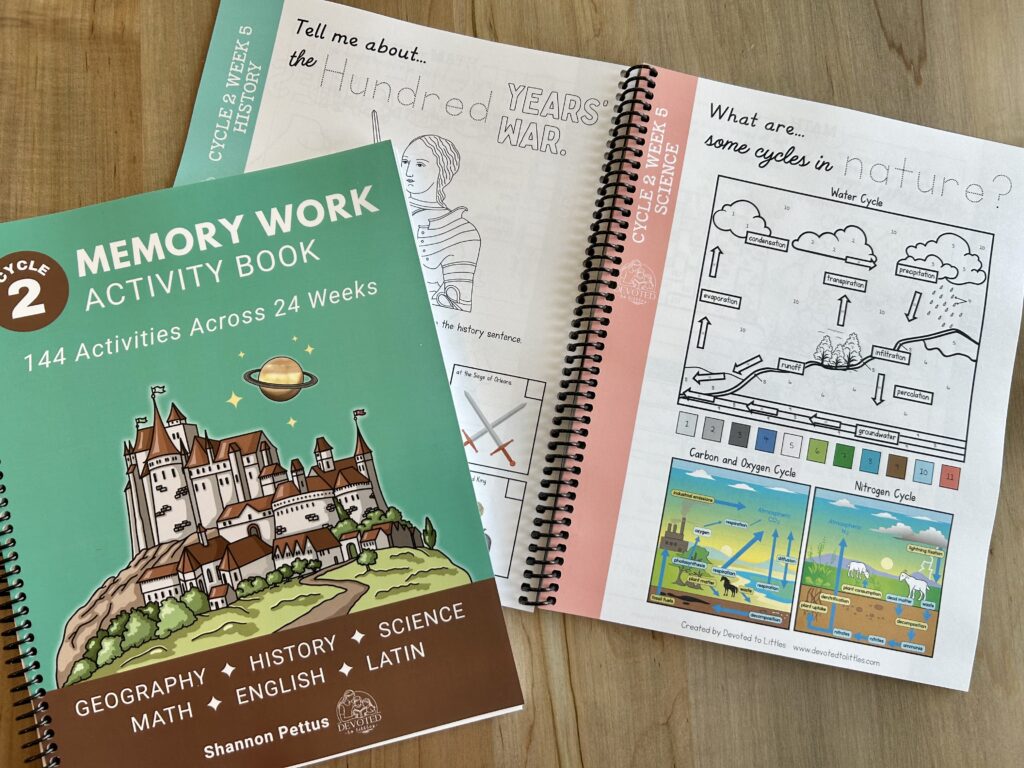
I am currently working on a Cycle 3 version, and I’m so excited about it. This time, I’m going to have two versions—one for younger kids (around 4 to 6 years old) and another for older kids (up to 12 years old). Stay tuned! As soon as I have the Cycle 3 Memory Work Activity Book finished, I will link it right here so you can check it out.
Let’s Connect!
If you decide to make your own felt United States map, please send me a picture! I would love to see it and hear how it went. And if you have any questions about materials or any of the instructions, don’t hesitate to reach out.
Check out all of my United States resources in my shop, and don’t forget to explore my Resource Library for free games and activities for each week of Cycle 3. Also make sure to follow me on Instagram where I love to share what we’re doing in our homeschool throughout the week (and sometimes some healthy recipes we’re enjoying!).
Thanks so much for reading, friend. I hope these resources bless your homeschool and help your kids fall in love with learning about our amazing country!


